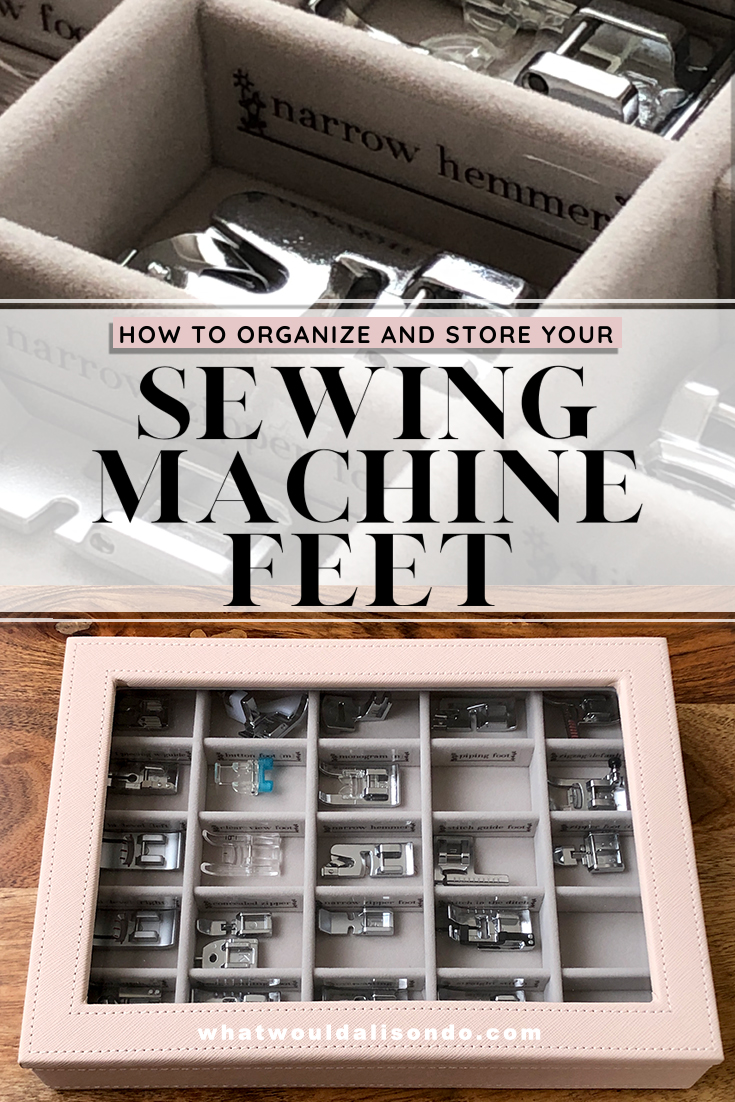
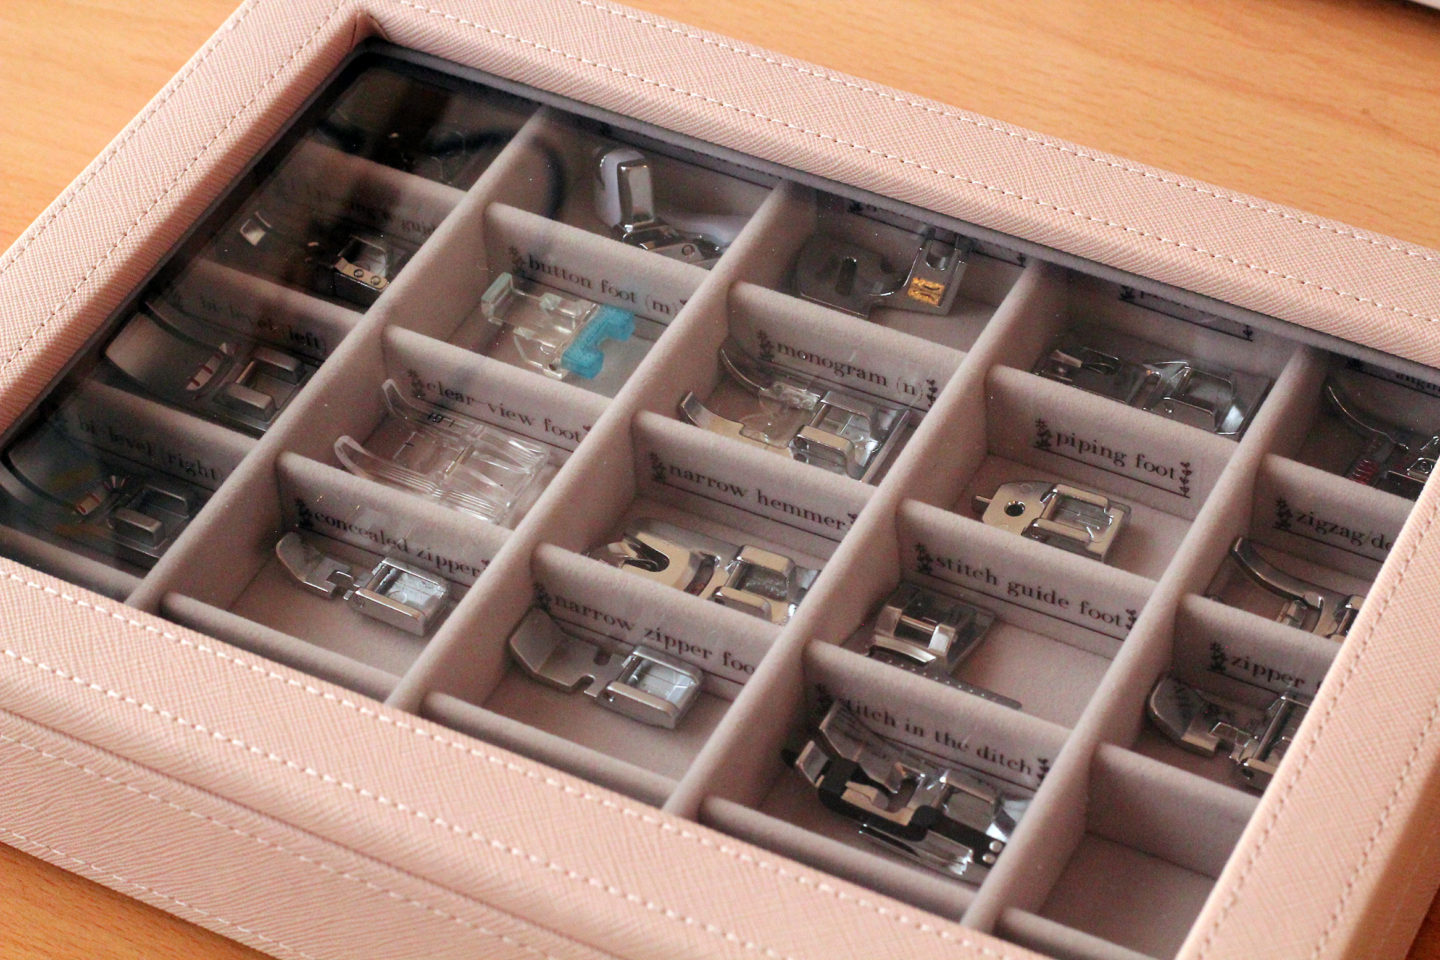
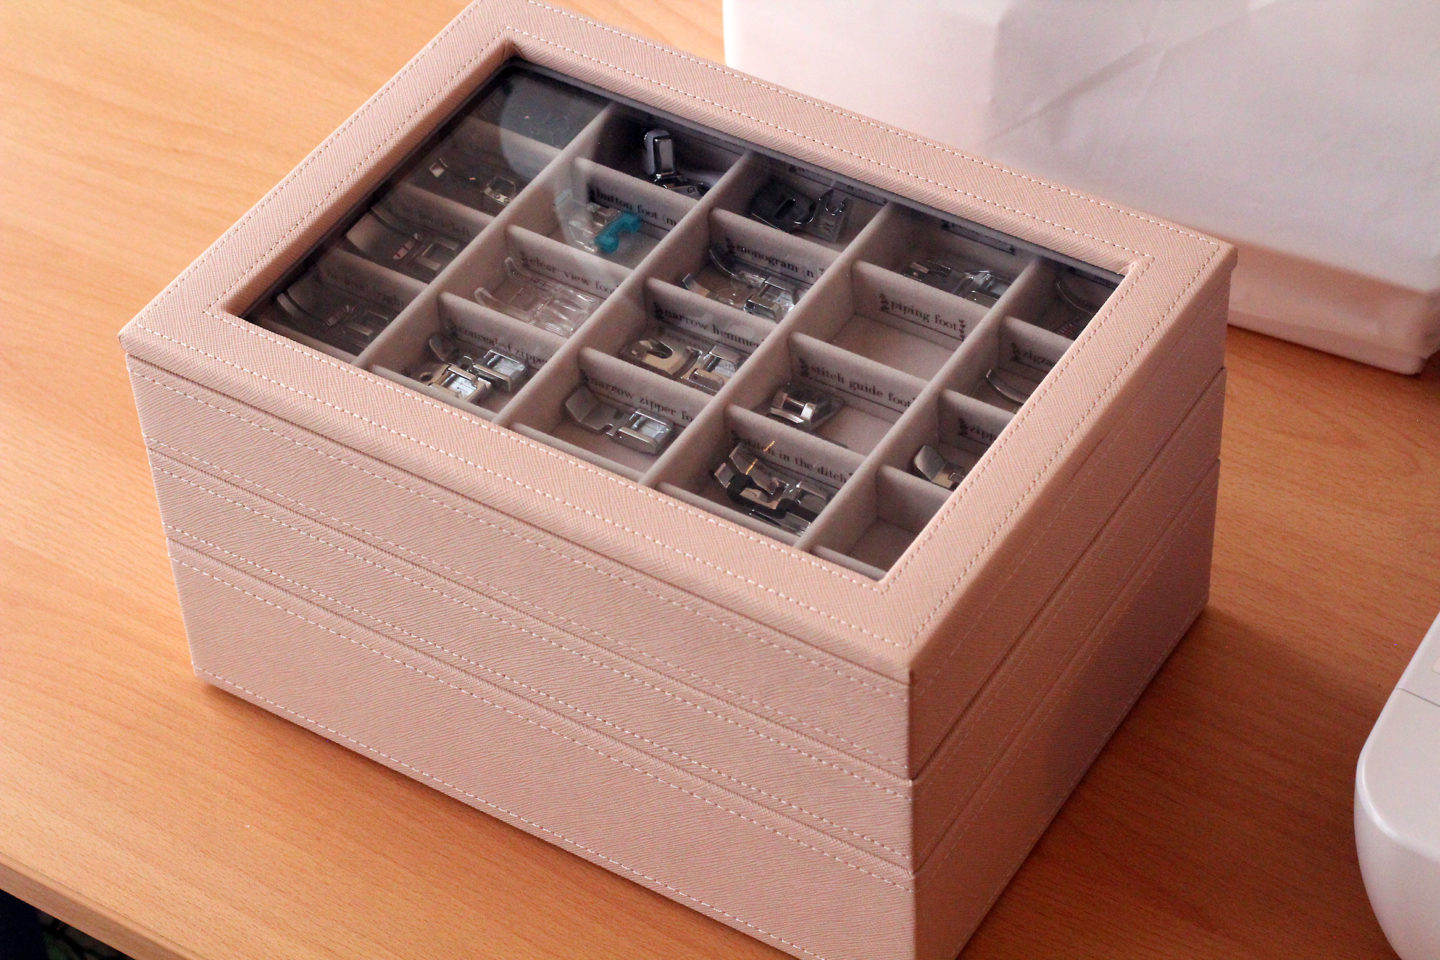
All of my presser feet, neatly organized in a glass-lidded, pretty, pink (and super durable) customizable box! Best of all, I can add as many tiers or “levels”, as I want to it. This is a great and low-cost solution for the sewing room. Read below to see how I did it!
Tools and equipment used:
Storage boxes: https://amzn.to/3zCKgK2
Label Printer: https://amzn.to/3QsfRFj

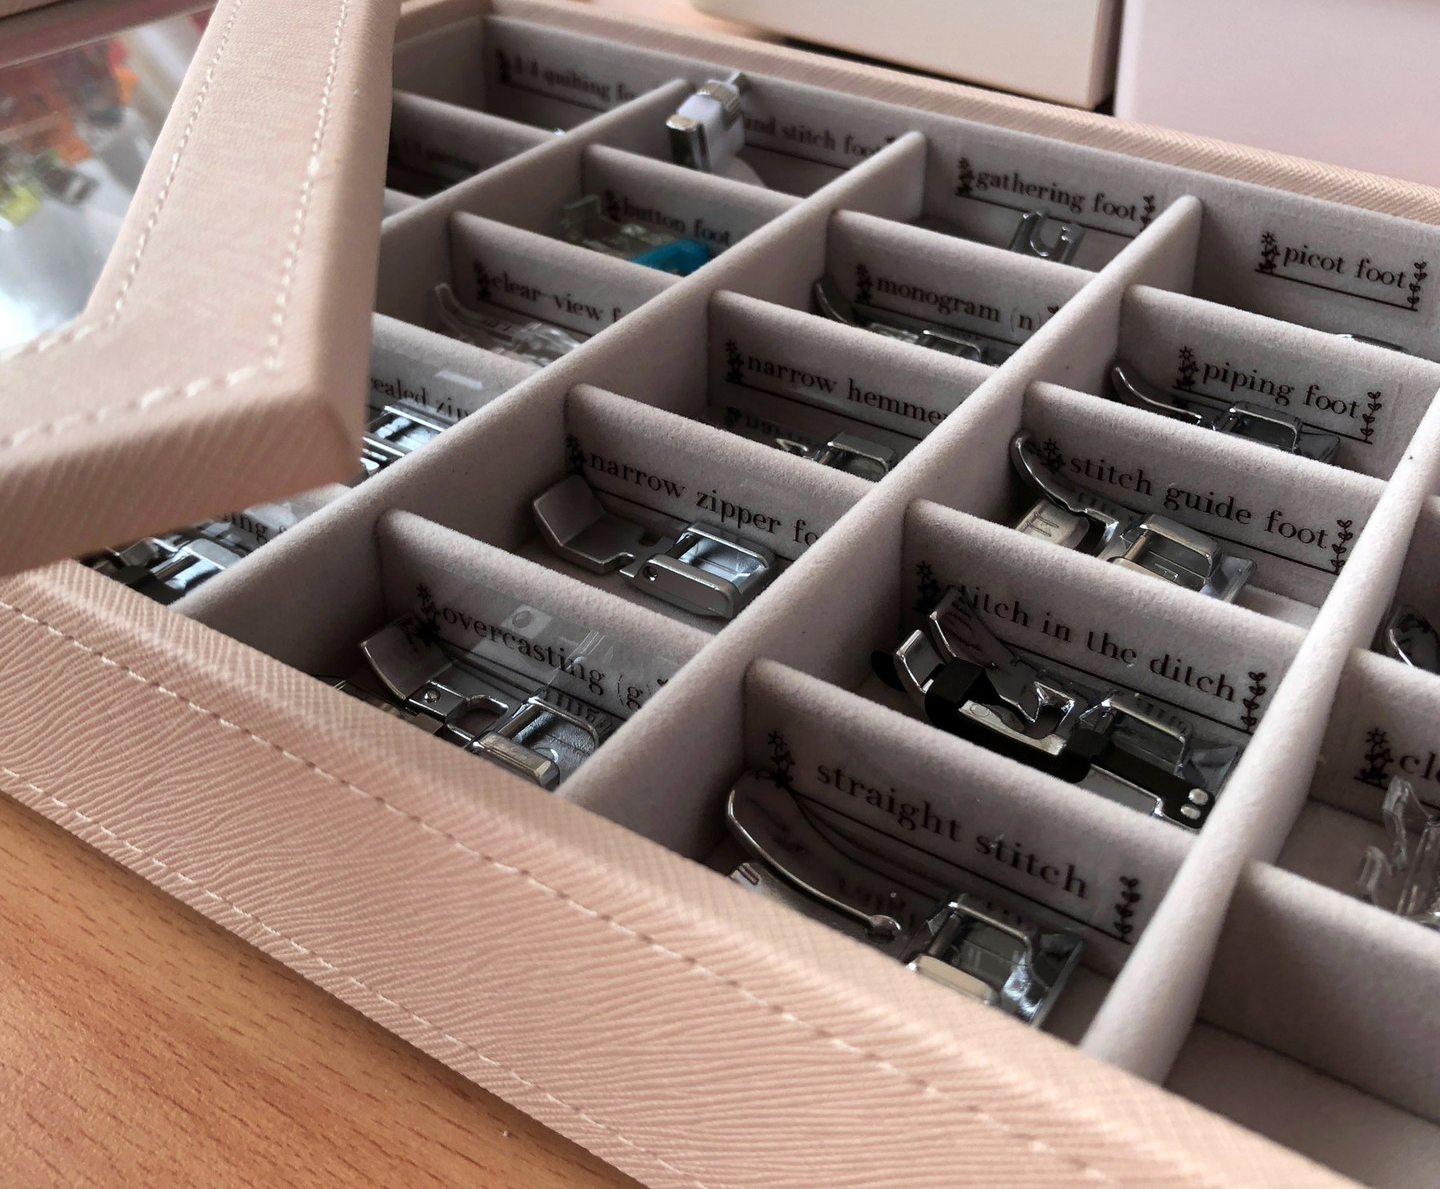
For at least a year, I researched solutions to organize my many presser feet. My sewing machine alone comes with at least eight of them, and keeping them in the sac that came with my machine proved difficult. Jumbled together, my presser feet were not easy to get to. I had to pour out the feet onto a surface to sort through them, just to get to the one presser foot that I needed. As my presser feet collection grew, I would finally end up with the awkward, jumbled mess pictured just below:

…and there are at least twelve presser feet missing from that jumbled mess. Something had to give.
I searched Google and Pinterest and found ideas ranging from storage binders (and storage boxes), to crude, repurposed canisters, to vinyl bags to ice cube trays. But none of these were quite what I envisioned and each (for me, at least) had its flaws. I really wanted my presser feet to be easily identifiable – not simply by their product codes, but by their respective names – stored compactly and complete with protective covering. The product pamphlets would also need to be easy to get to. And finally, the appearance. I wanted something that looked like something I would actually want to have around. Also, the price. It had to be something that was worth the investment. After searching for over a year, I stumbled upon the perfect solution. With a little customization, I knew it would work perfectly. I finally had a plan.
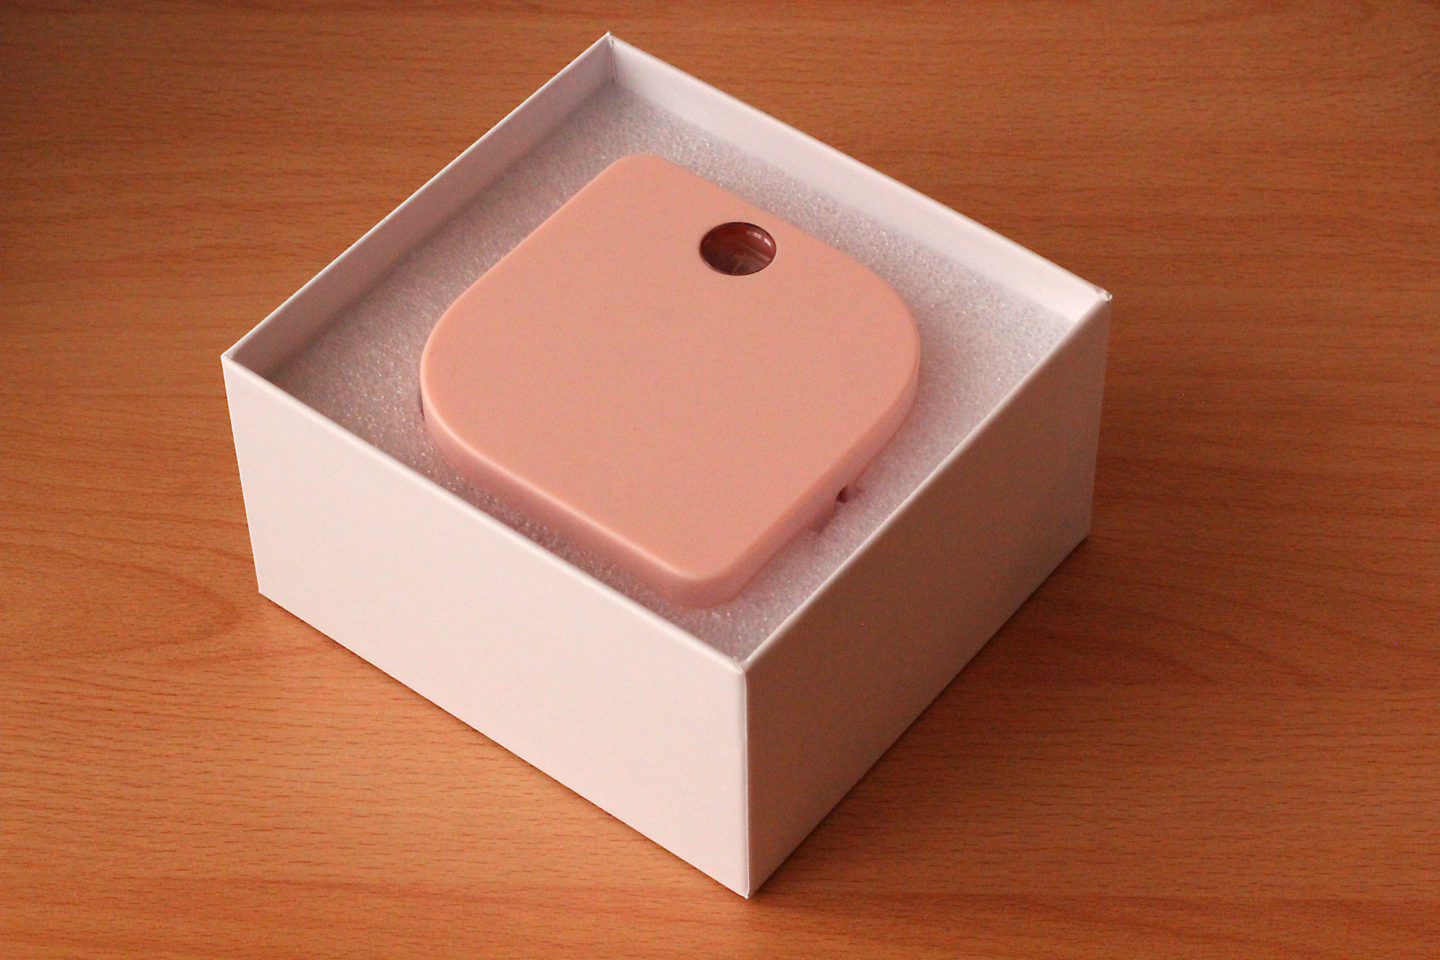
First, labels would be in order. I chose this label maker for its ease of use, quality, and because I knew their labels had no problem sticking to velvet (unlike most others). Initially, I had some trouble figuring out the app that runs the label maker, but that was because I downloaded the wrong app AND misread the instructions! But the manufacturer had a toll-free number which I called and, thankfully, I was able to immediately speak with a real, live customer service rep who guided me step-by-step through the proper download process. I was able to finally print beautiful labels. Super easy.
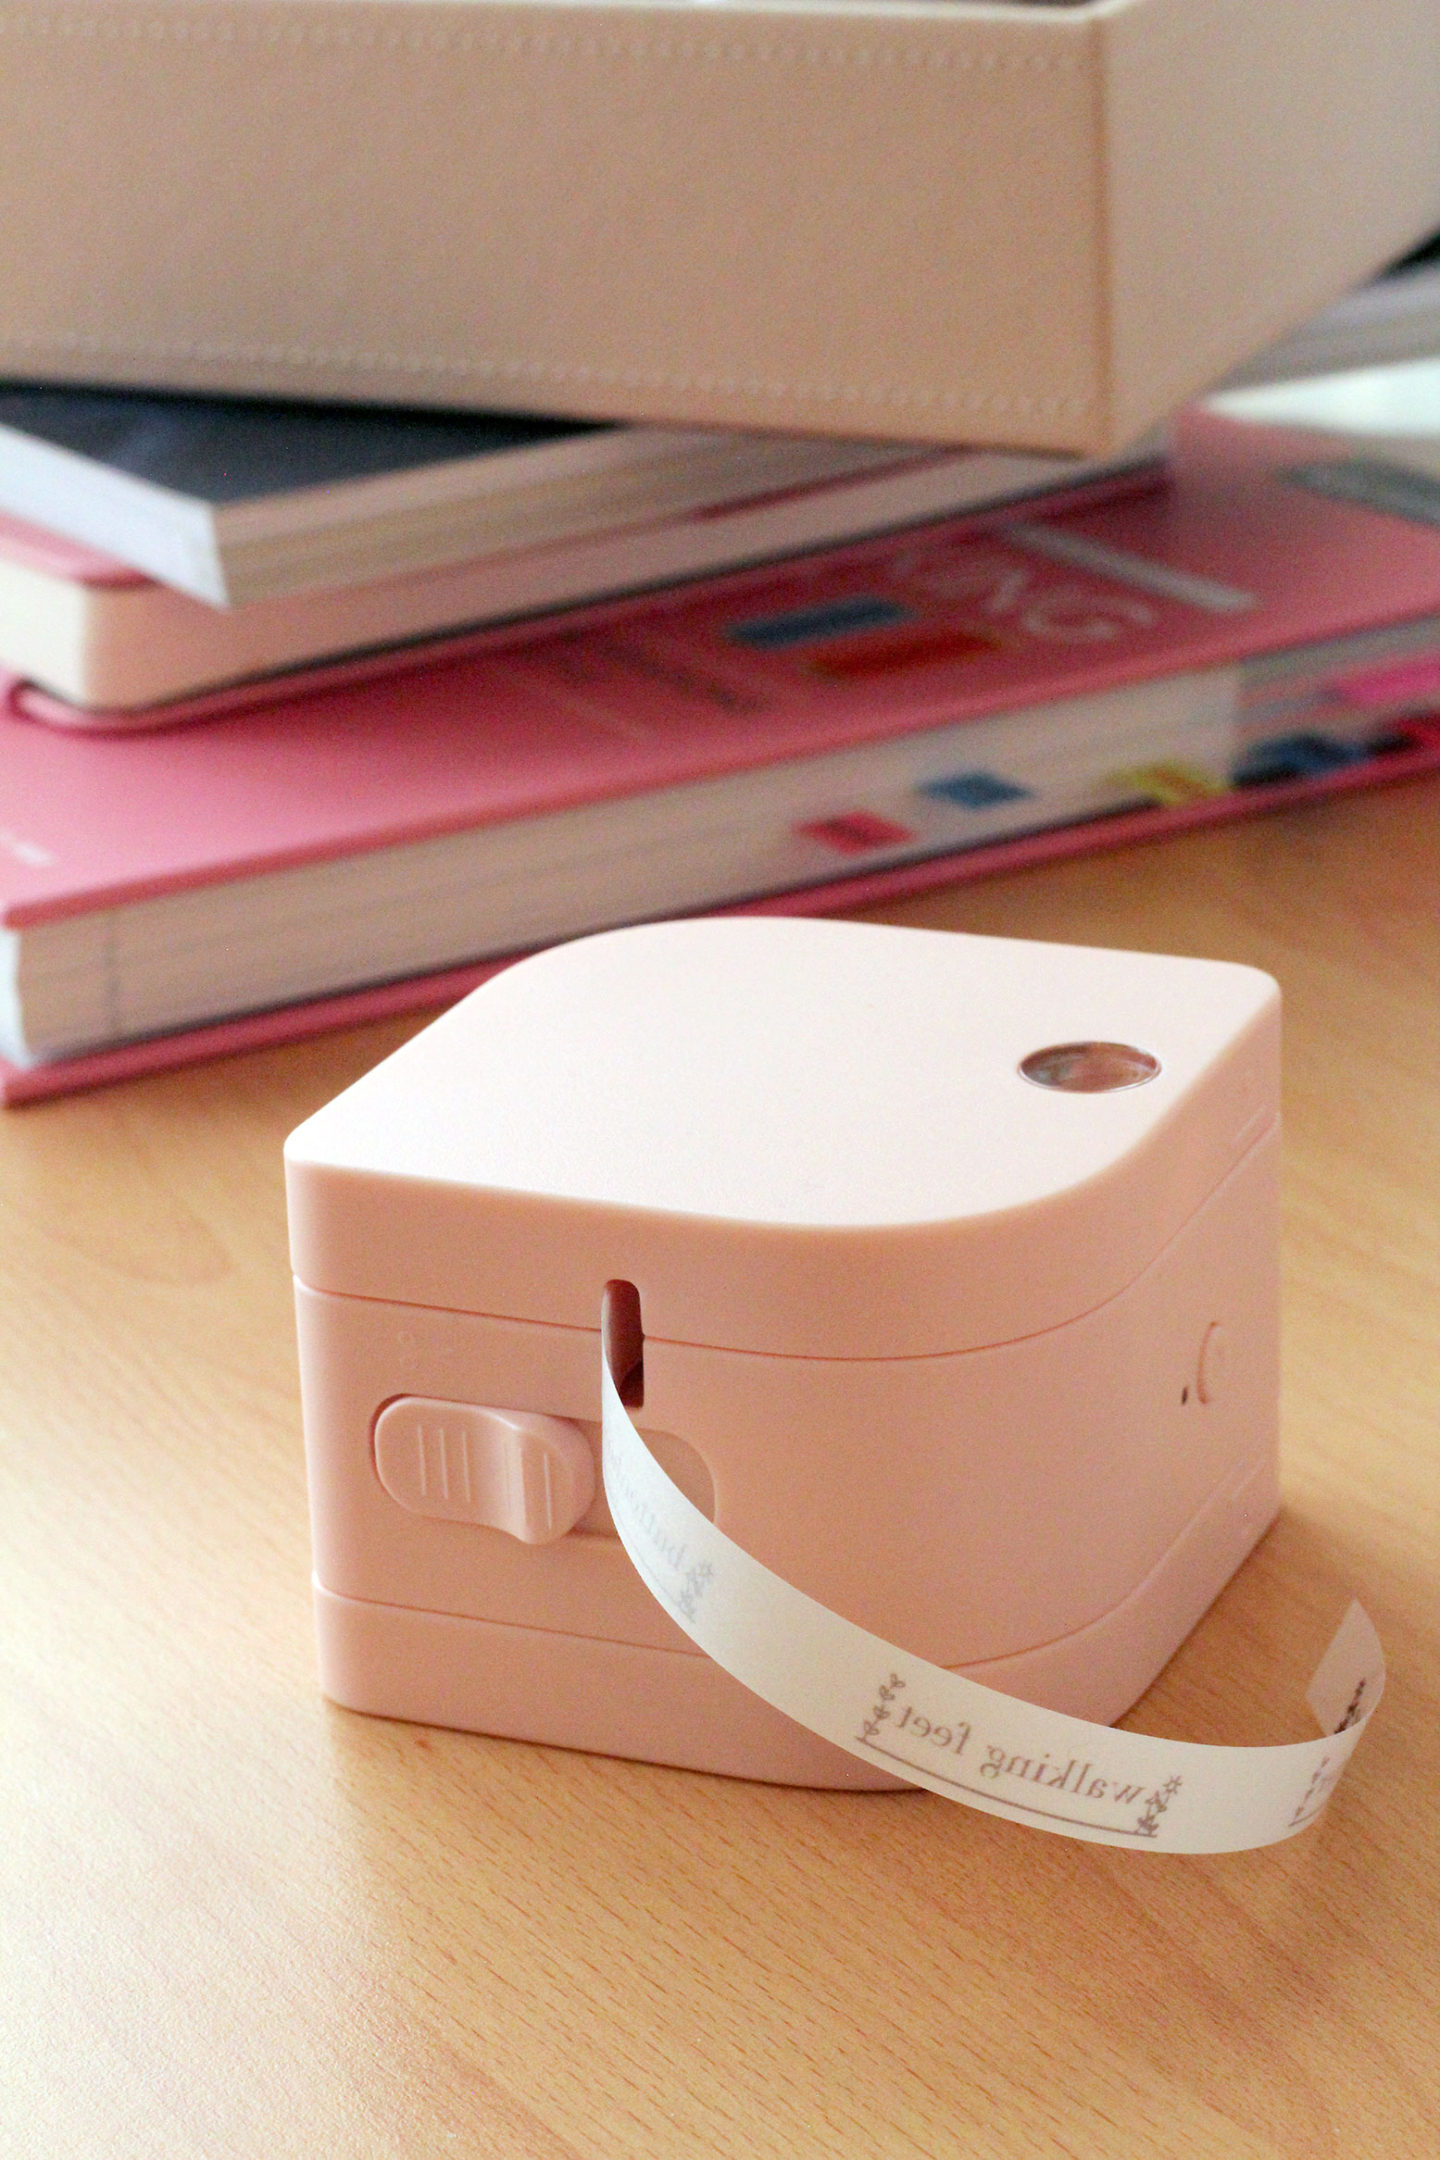
As a precaution, I made sure that each label could actually fit into each compartment in the tray. I did this by setting the label printer’s maximum width to around 42 mm. I then placed a test label onto the wall of the compartment, to make sure that it would actually adhere to the velvet lining. After a few days of waiting, the grip was as firm as that of the first day. The labels can also be lifted and reapplied and the grip is still strong with no sticky residue left on the fabric lining.
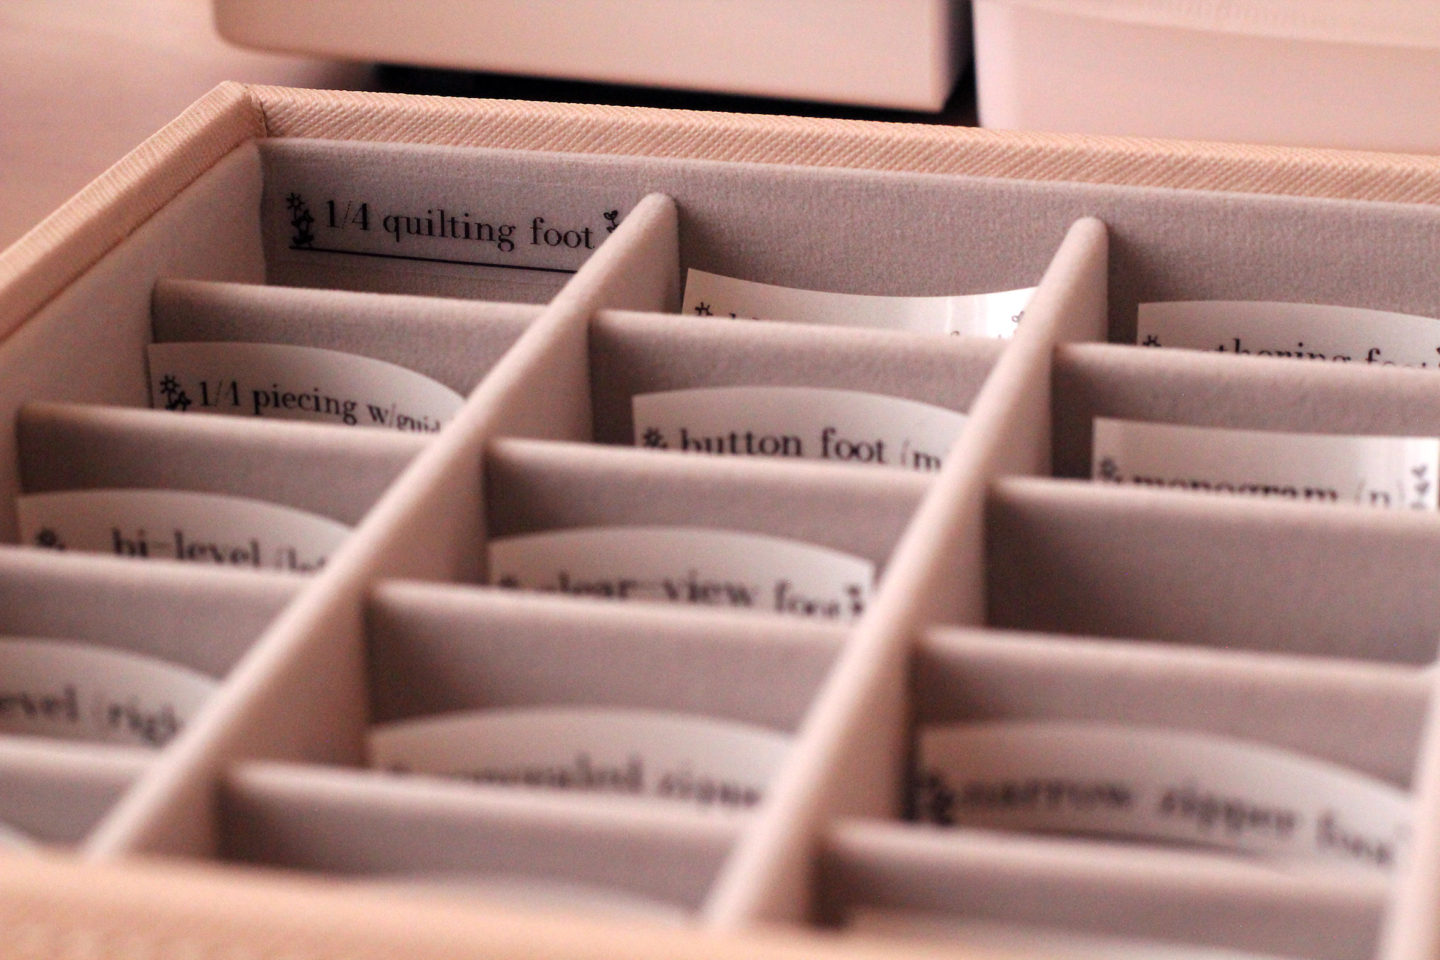
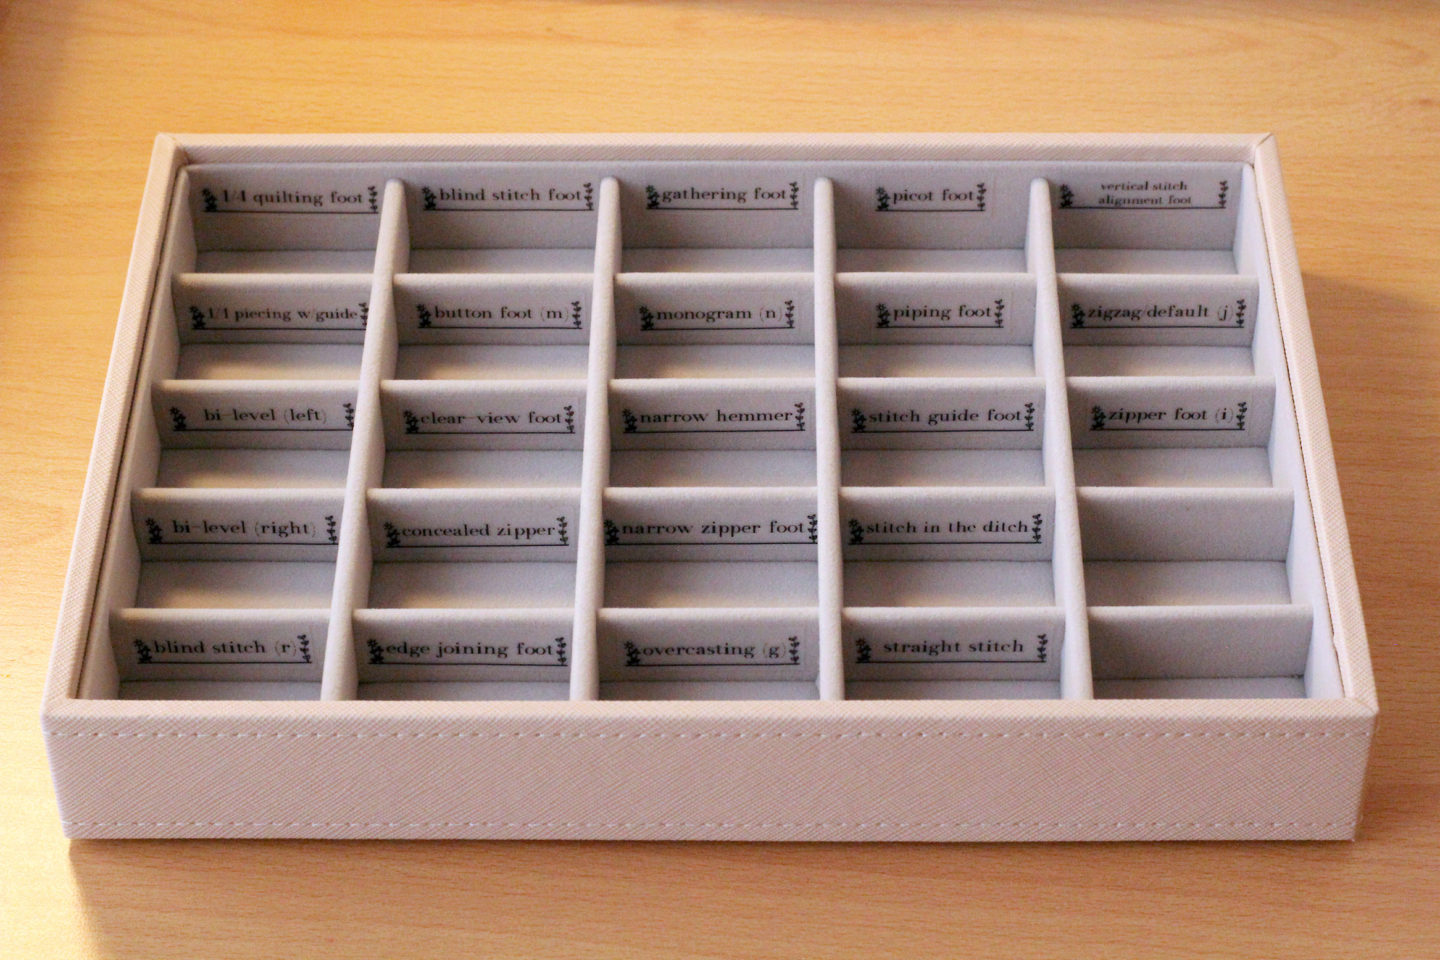
With the label size and grip strength confirmed, I then applied all of the labels to the tray. I used an alphabetical order of sorts, with a couple of empty compartments left over, just in case I acquired any new presser feet in the future.
Most of my presser feet fit easily into the compartments while laying flat, while one of them – my vertical stitch alignment foot – had to be placed in at an angle to fit comfortably. Those that were too large, like long serger feet, walking feet, and the like would go into a different tray to accommodate their size (more on that below).
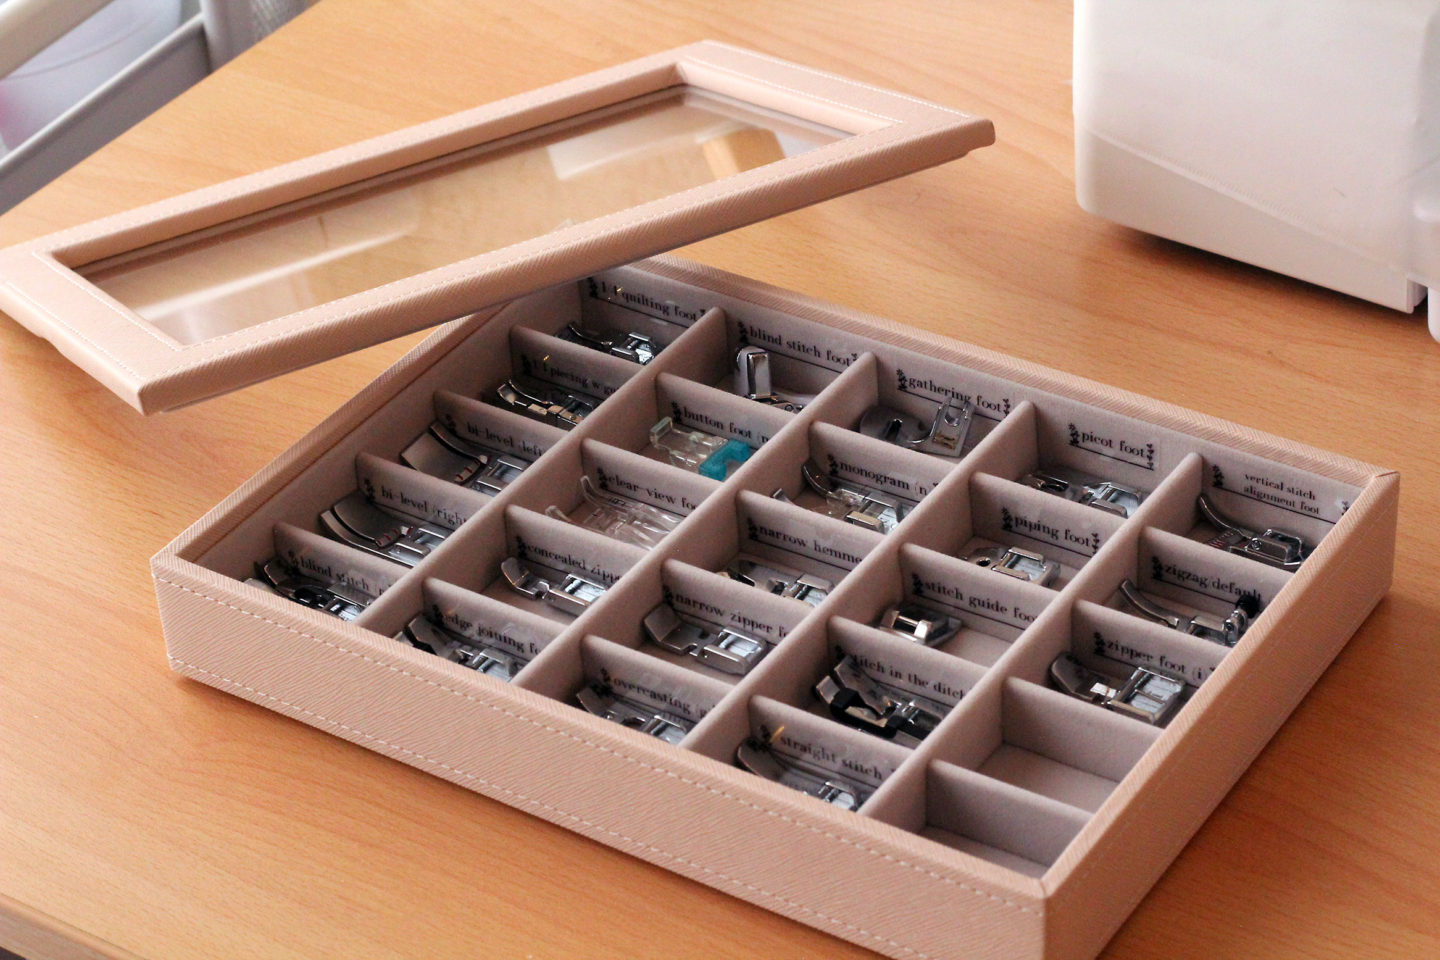
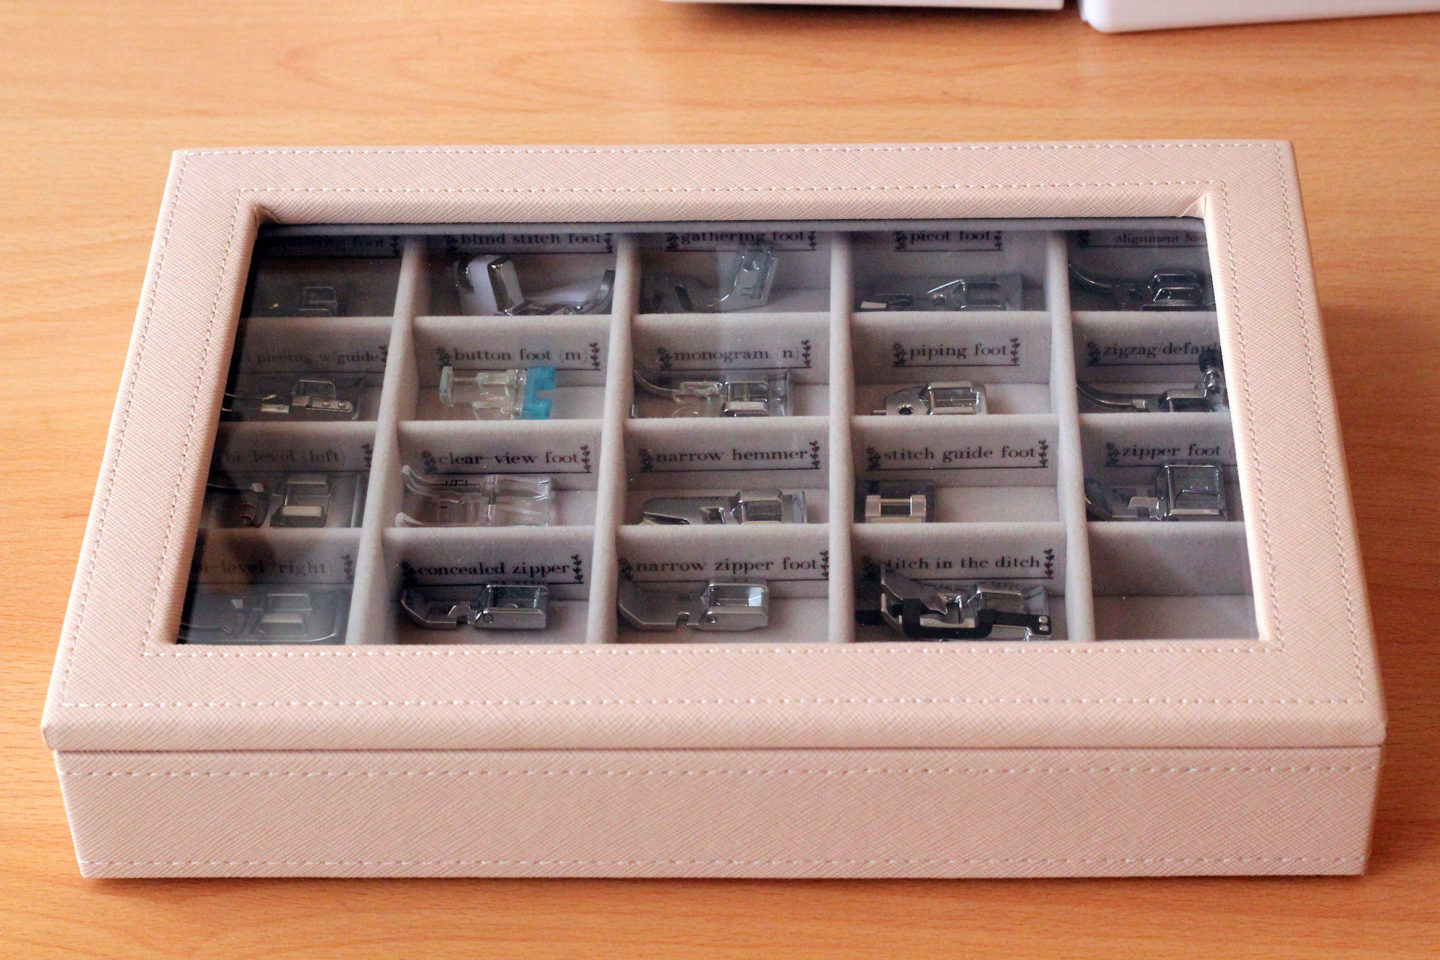
The tray comes with a lovely protective see-through glass lid that fits comfortably inside the tray thanks to its gently beveled edge.
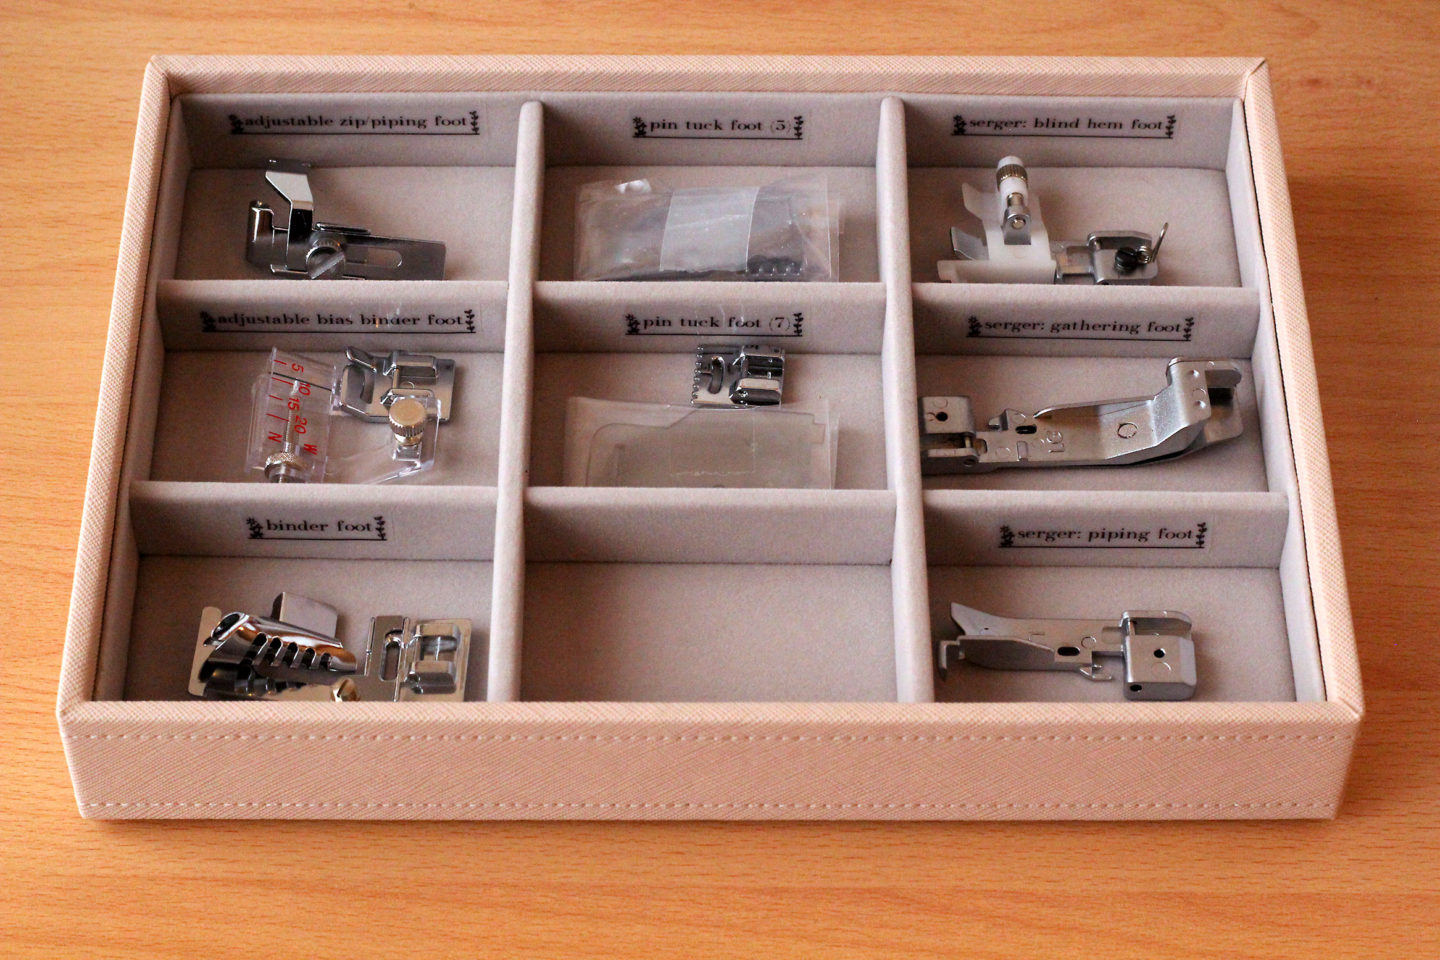
My serger feet are quite long and even some of my standard sewing machine feet are long and wide (like the binder foot). So a tray with different-sized compartments was in order. I measured the longest and widest of this group of feet in advance to make sure they would actually fit into each compartment.
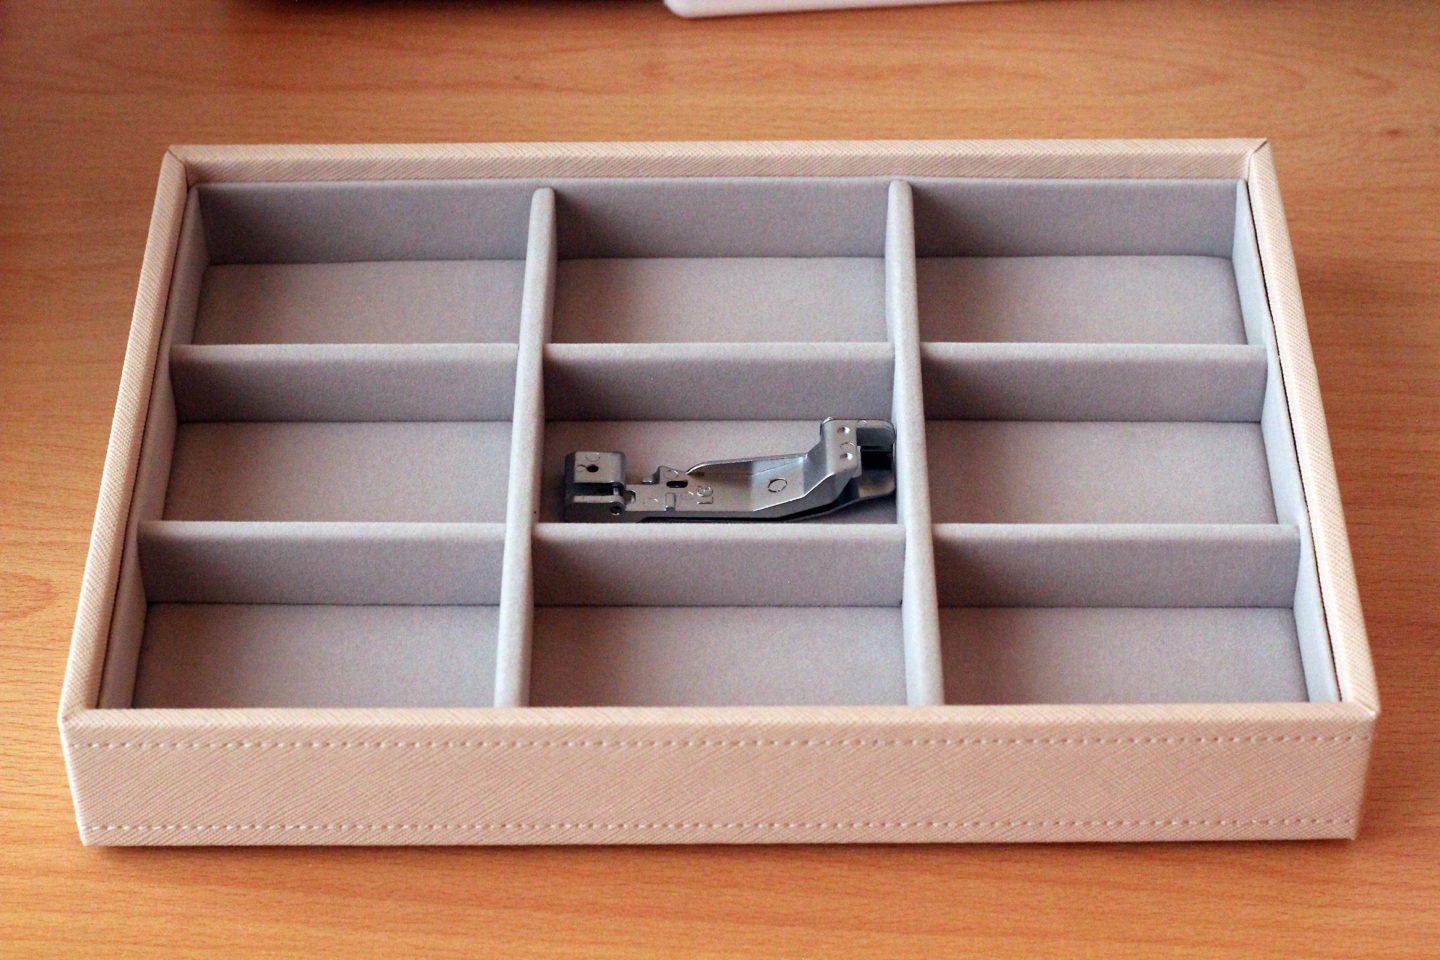
The labels fit with no problems at all, there was more than enough space. For those compartments that would hold serger presser feet, I noted that on their respective labels:
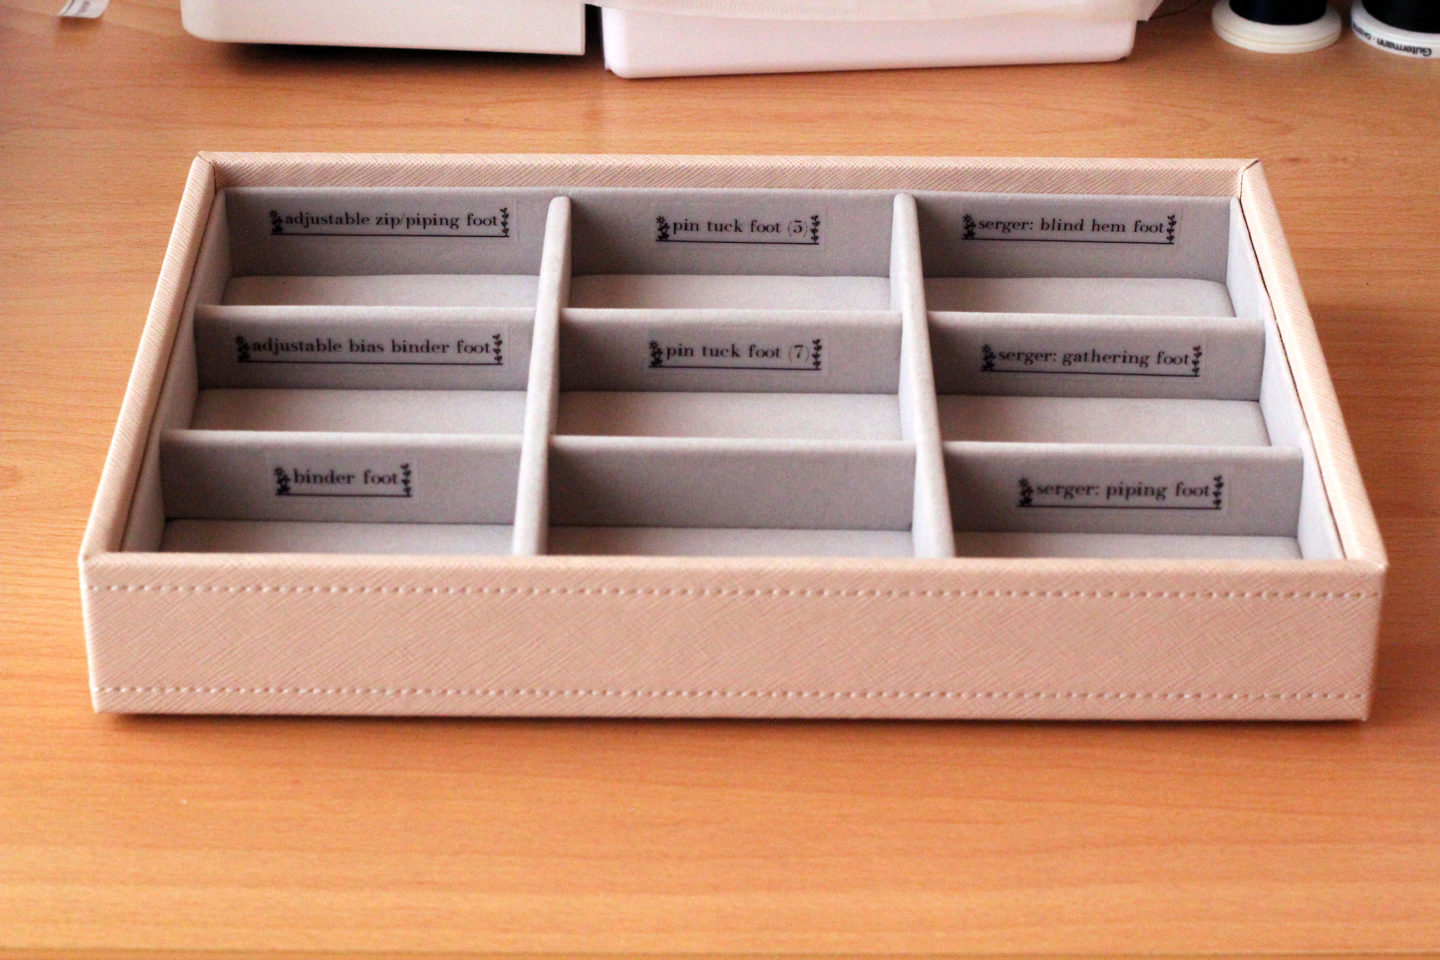
Even the chunky binder foot and adjustable zipper & piping foot fit comfortably into the compartments:
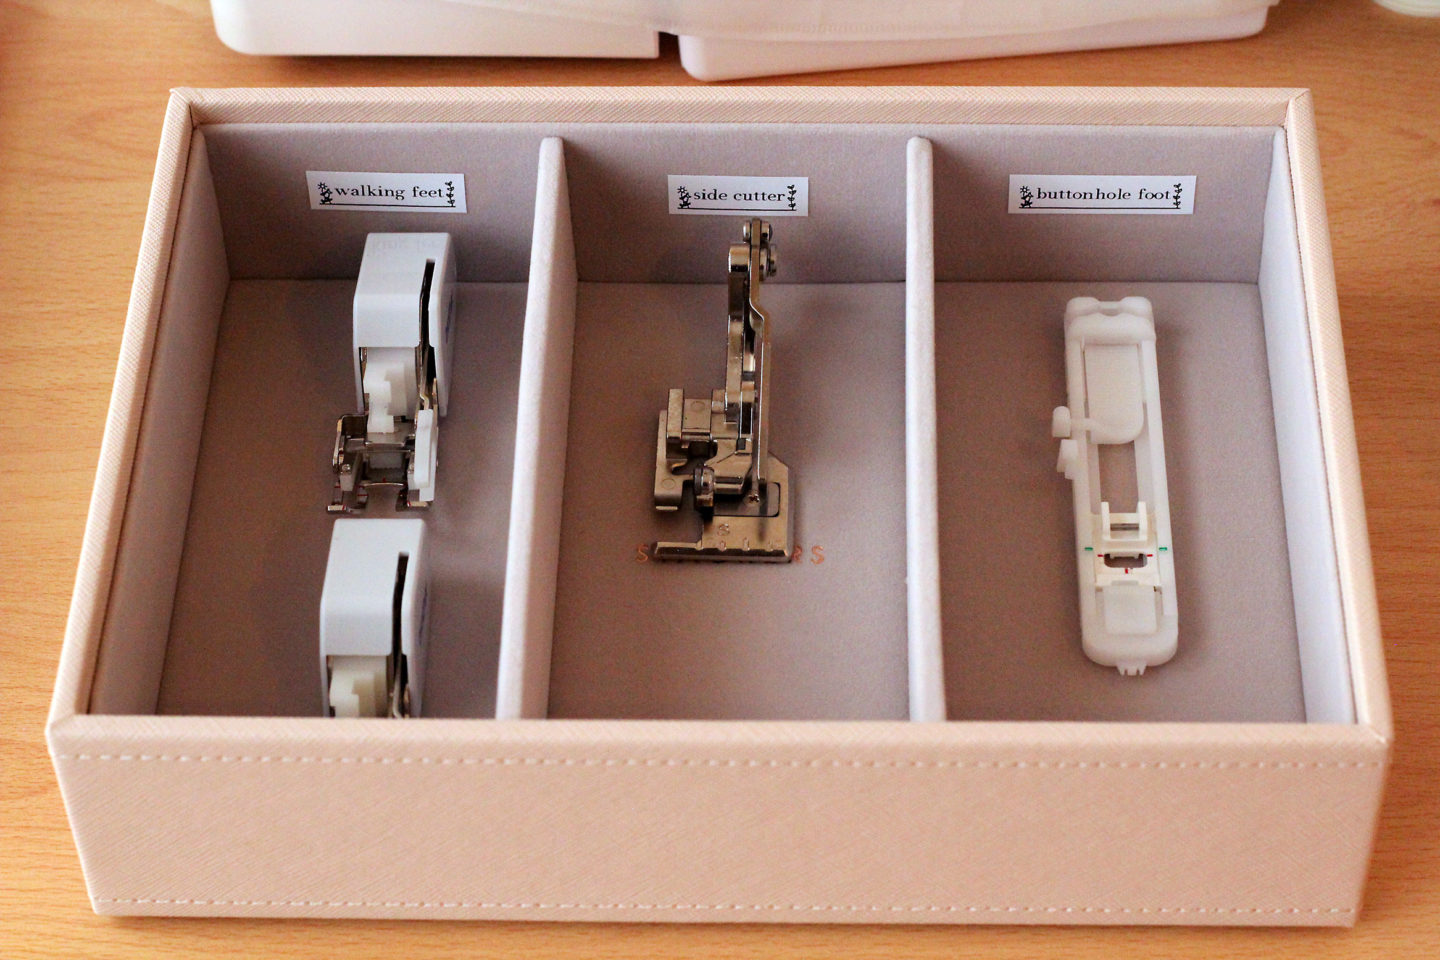
The third tray that I used holds the enormous, tall walking feet (I have two), quilting guides (not pictured in the photo), side cutter foot, and the really long button hole foot. As I did with the previous tray, I labeled this one using transparent labels:
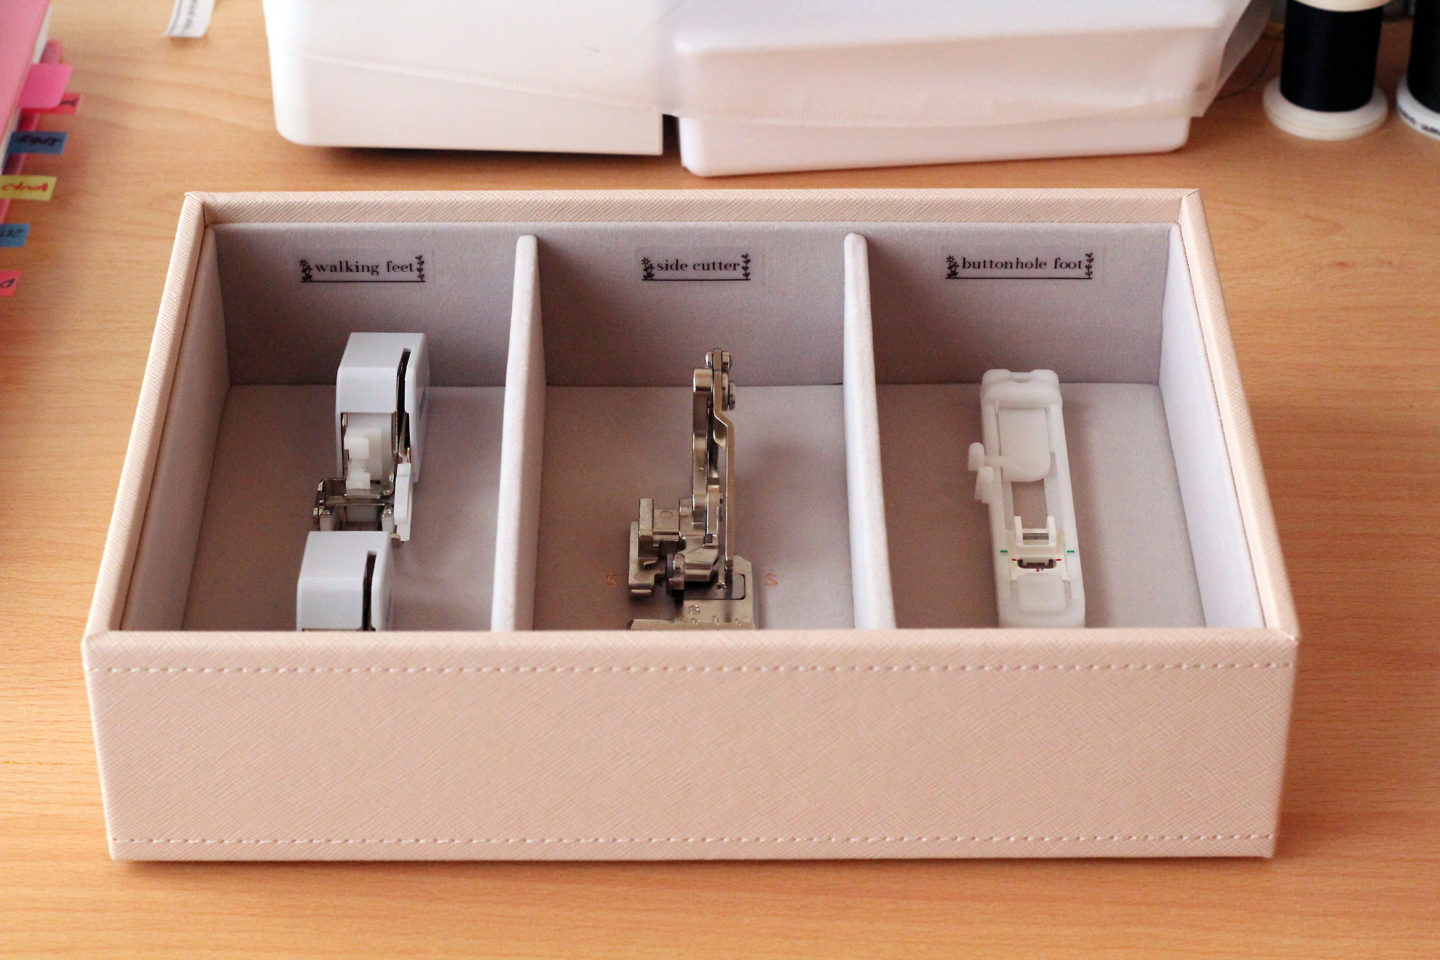
The printer actually comes with white labels, which might be ideal or even preferred in some cases. But I prefer the transparent labels. Since the text is quite large and the background is still light gray, I can see and read them easily – even with my maturing eyes.
And finally, a tray to hold the many instruction pamphlets that accompanied the various presser feet. I also added two presser feet that I don’t yet use to this tray. On each pamphlet, I recorded the manufacturer and product code number for each presser foot.
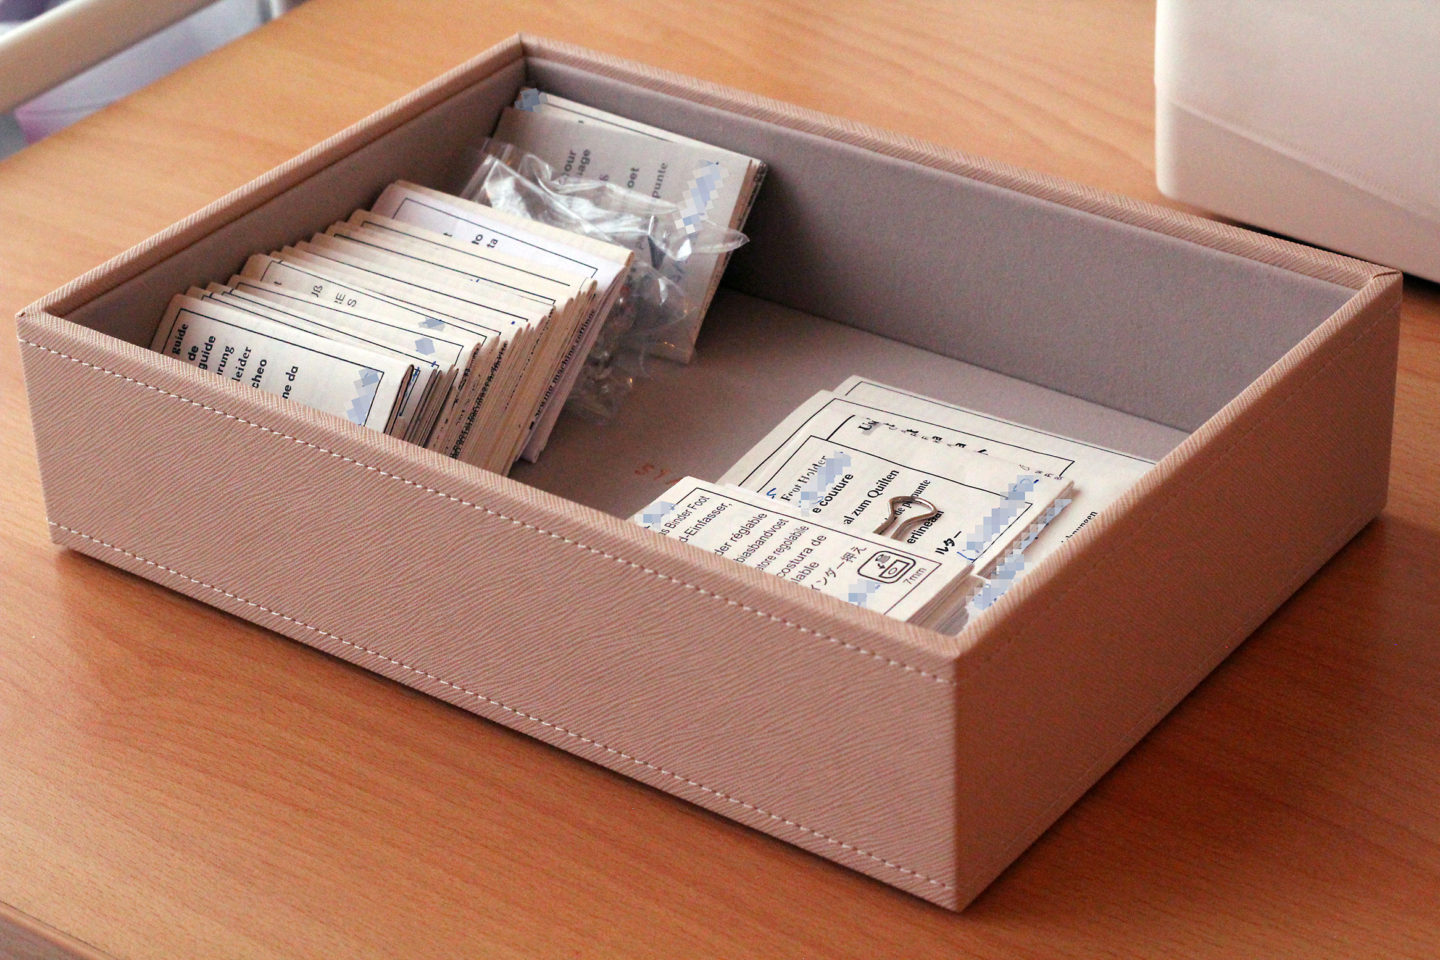
The tray with the instruction manuals will either be stored discreetly with a protective lid in a cabinet or elsewhere in my sewing area; or I’ll simply place it at the very bottom of the tiered trays. I haven’t quite decided yet.
And, voila, the finished product:
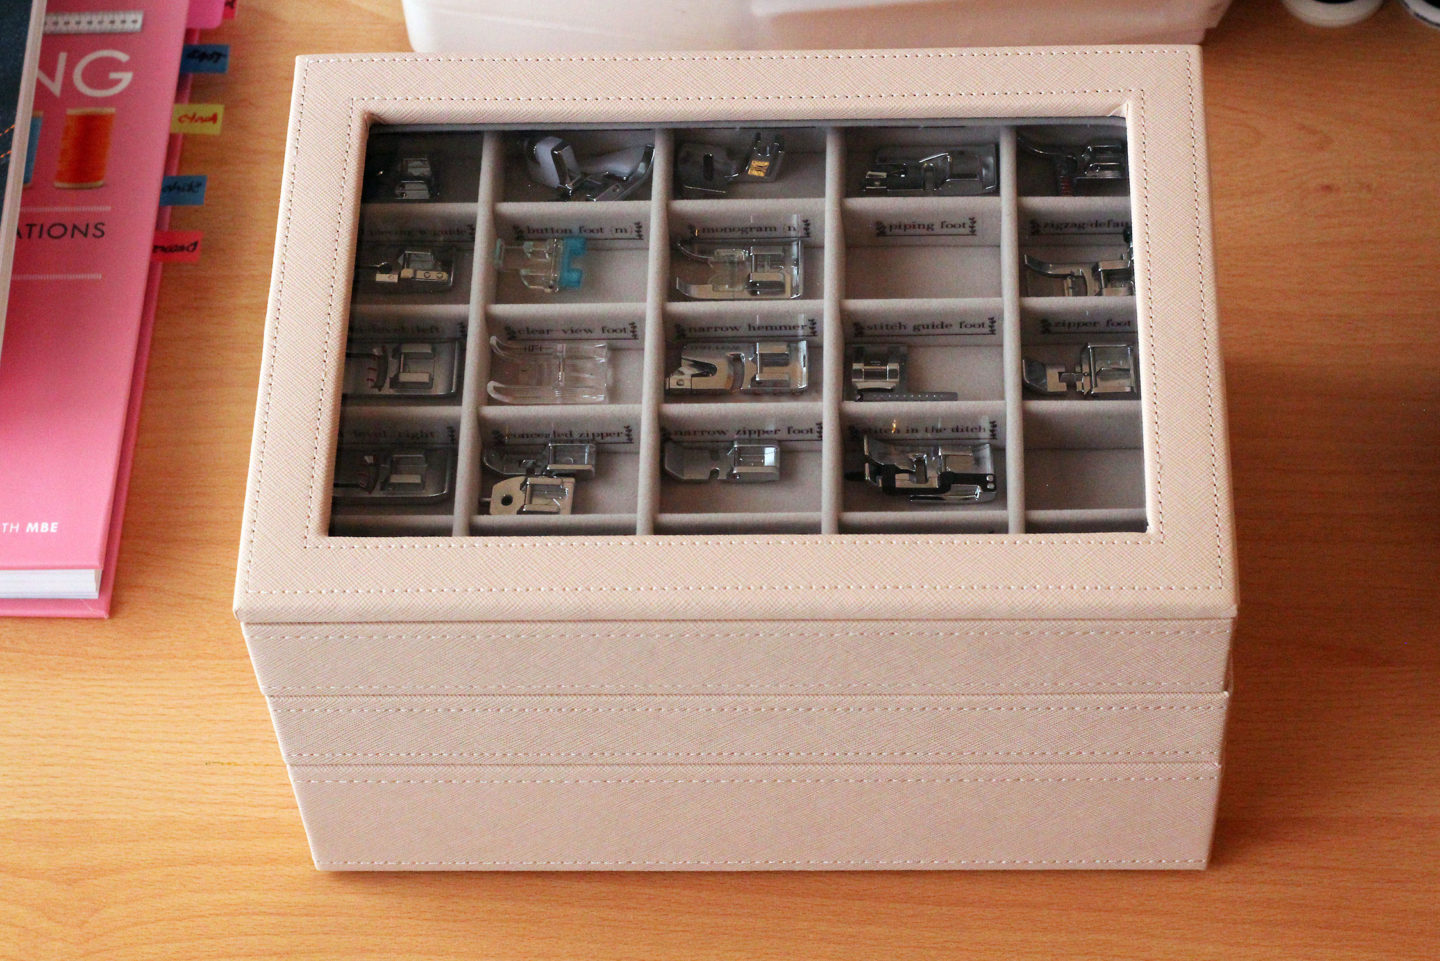
All of my presser feet for my sewing machine and serger, neatly organized, labeled, and protected with a glass lid for easy access. I absolutely love it! Though these storage trays were meant for jewelry, they make for an excellent presser foot storage solution. The fact that they can be nested together means they take up very little space in the sewing room.
Affiliate Disclosure: This post contains some affiliate links. This means if you click on the link and buy something, I will receive an affiliate commission at no extra cost to you. All opinions offered are my own. 🙂
